Put the romance in necromancer with a 3D-printable lair

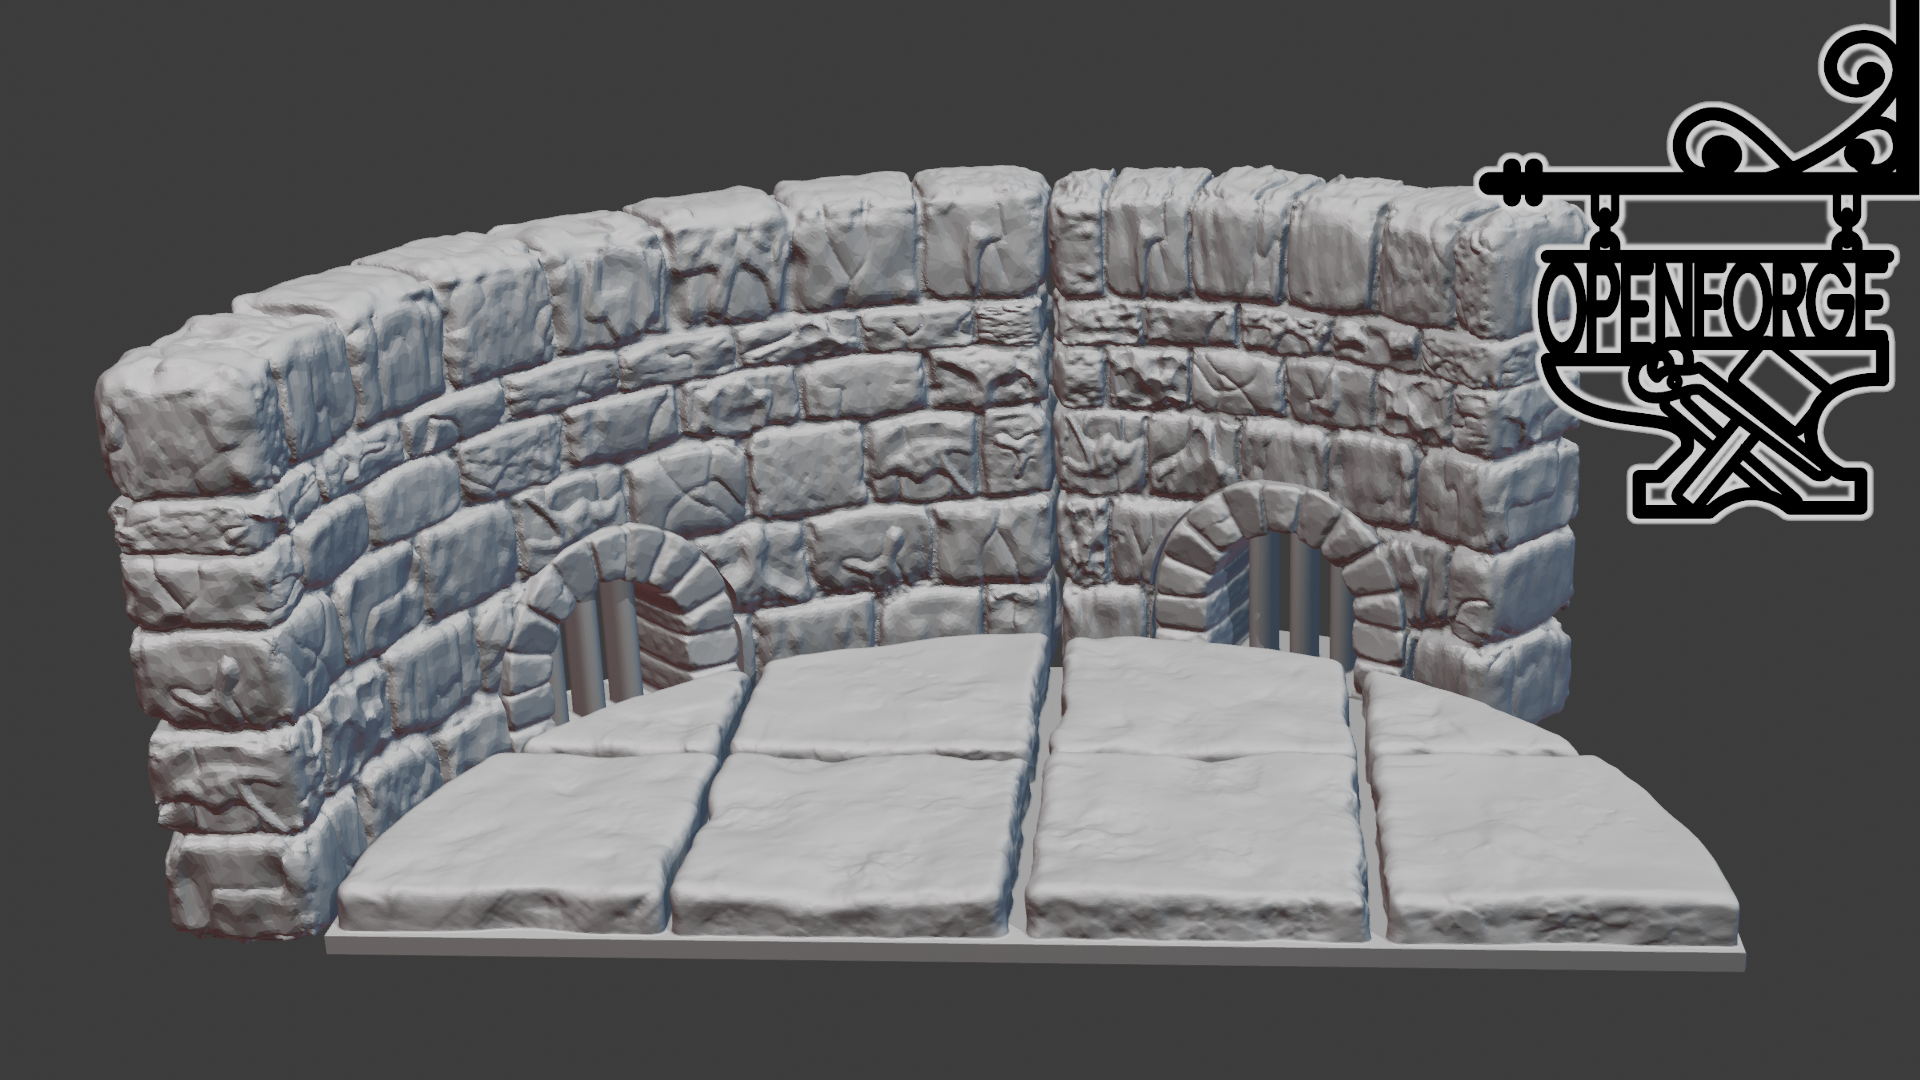
Rendering of 3D-printable ossuary: wall and floor.

This is where the set starts to get interesting, no bones about it. We've got floors, columns for attaching corners, floor tiles cut for wall-on-tile and corners, and some special new bases (‘cause it’s all about that base).

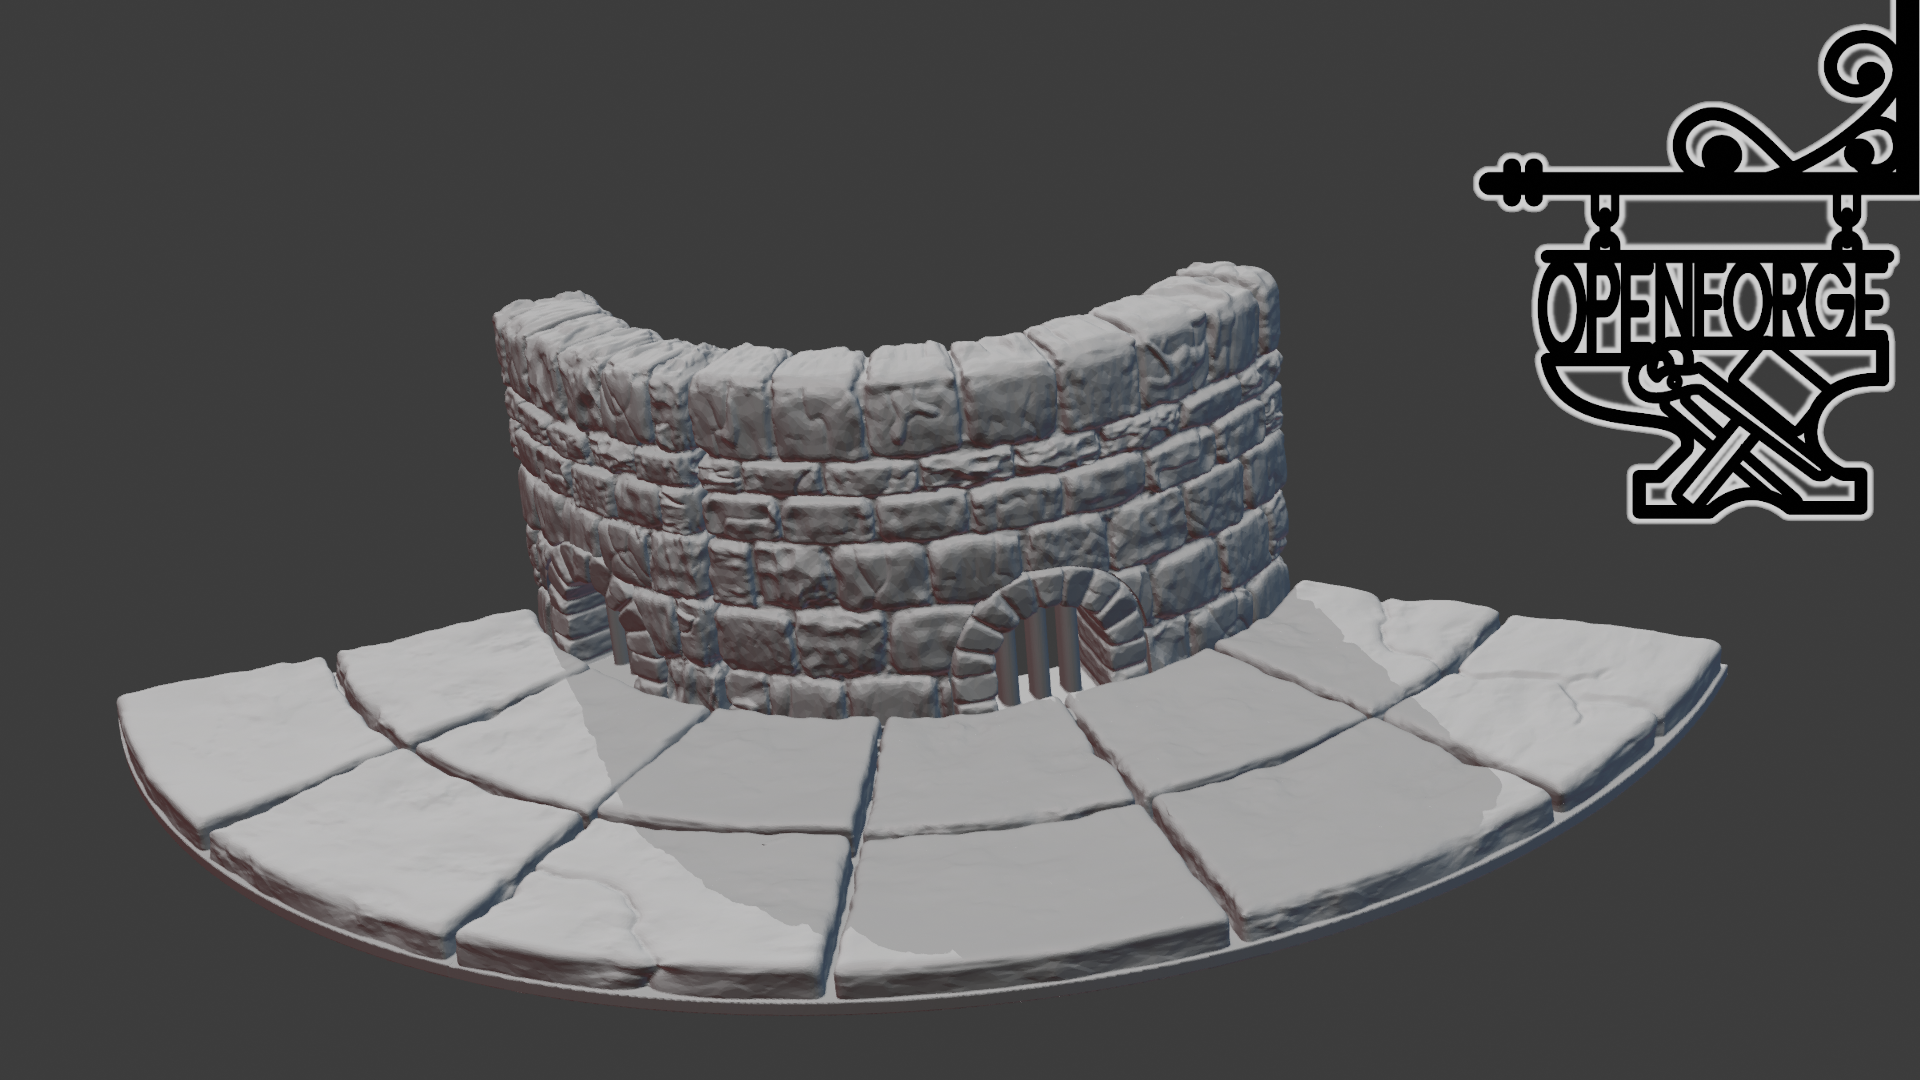
Rendering of 3D-printable ossuary: walls, floor, column and base.

Devon created a new tile style that he’s calling s2w, which stands for "separate wall-to-wall” on tile. These parts make the necro set incredibly flexible. Take the corner, for example.

  • Make a standard separate wall 2x2 corner with the walls off of the tile. (2 A walls, 1 L corner, floor tile, 2x2 base)

  • Glue together a standard wall-on-tile 2x2 corner. You can use clips to ensure the corner wall and column positioning is perfect. (2BA corner walls, which have clips on only one side, the corner floor, and a standard 2x2 base)

  • The new s2w bases make it possible to truncate corner-floor tiles so you can make a detachable wall-on-tile-style corner. That's right — modular wall on tile. (2 BA walls with side locks or the corner ones, the s2w 2x2 corner base, and the corner floor cut)

The same applies to wall tiles. Make a standard separate wall, a wall-on-tile, or the s2w wall base, and use modular wall on tile to build your lair.

Grab the files:
Patreon
Thingiverse
MyMiniFactory

Files are available now via Dropbox to our Patreon supporters. Files are posted to Thingiverse and MyMiniFactory later, as time permits. Check back if you don’t see them right away.

This ossuary is TO DIE FOR

Devon printed this tile using an FDM printer. We strongly suggest you do this with FDM, using adaptive layers. They are available in a fair number of slicers, but for sure in Bambu, Orca and Prusa. Photo by Devon Jones

No necromancer’s lair is complete without a safe place to store future friends, employees and lovers. Now you can 3D-print your own corpse pantry in privacy, away from the judgmental eyes of your local paladins.

This set is the first in our new wizard's sanctuary set, the Necromancer's Ossuary.  It comes as a separate wall file, and you can print it in the standard sizes (1x/IA, 1.5x/BA, 2x/A, 3x/D and 4x/Q).

Rendering of separate-wall ossuary.

Grab the files
Patreon
Thingiverse
MyMiniFactory

Files are available now via Dropbox to our Patreon supporters. Files are posted to Thingiverse and MyMiniFactory later, as time permits. Check back if you don’t see them right away.

3D printing is a spectator sport

3D-printed iron flask illuminated with LEDs

This illuminated iron flask sits patiently in our gaming room, waiting for some low-wisdom derp to throw it. Photo by Monica Jones

See what I did there? The headline is funny because in Baldur’s Gate 3, when you throw the iron flask, a spectator breaks free to show you what chaotic neutral is all about.

Oh shut up. I’m hilarious.

Anyway, Devon 3D-printed this iron flask, designed by Mark Pedersen, as a prop for our gaming room. He modified the original design to make the bottom detachable and added electronics for just a touch of menace.

Also, we know spectators are lawful neutral. It was just a stupid joke.

Supplies

For the body: Protopasta Stainless Steel Filled PLA 3D Printer Filament
For the eyes and mouth: Clear red SUNLU 3D Printer Filament
Sandpaper in multiple grits

Note: Devon sanded the body using 400-, 800-, 1000-, 2000- and 3000-grit sandpaper, in that order, to achieve a realistic metallic finish.

Instructions for electronics

The seed pixels (the LEDs) have three wires. The marked one is for voltage, which gets soldered to the 5v hole on the ESP. The next one is for signal. I soldered that to D4. The final wire is for ground, and that one gets soldered to G.

Cut as much wire as you need for your project. We recommend using no more than 30 LEDs on an ESP board.

Next, install WLED on the board. You’ll need to install the drivers first. Then plug in WLED and follow their setup instructions. Your config should look something like this.

Masterwork Tools is an Amazon Affiliate. We earn a small commission on qualifying purchases.

Let your creepy light shine

Skyrim's Dragonpriest mask, with custom lighting

This 3D-printed Dragon Priest mask is illuminated with programmable LEDs. Photo by Monica Jones

Before Christmas, Devon dove back into an old hobby — electronics — when he strung year-round programmable LEDs across the front of our house. Now he must illuminate all the things, and nothing is safe.

This Skyrim-inspired 3D-printed Dragon Priest mask, designed by Jtm, has been guarding our office, waiting for the sweet, sweet touch of LEDs. Today, this creepy severed head shall wear purple.

Supplies for Electronics

Pixel String Light
WiFi Development Board
Soldering Station (or whatever station you have)

Instructions

The seed pixels (the LEDs) have three wires. The marked one is for voltage, which gets soldered to the 5v hole on the ESP. The next one is for signal. I soldered that to D4. The final wire is for ground, and that one gets soldered to G.

Cut as much wire as you need for your project. We recommend using no more than 30 LEDs on an ESP board.

Next, install WLED on the board. You’ll need to install the drivers first. Then plug in WLED and follow their setup instructions. Your config should look something like this.

Configuration specs for programmable LEDs

Masterwork Tools is an Amazon Affiliate. We earn a small commission on qualifying purchases.

Drains add functionality to curved walls

Concave curved Dungeon Stone wall with drains

The drains in these concave (above) and convex (right) Dungeon Stone walls will add dimension to your 3D-printed gaming terrain.

Convex curved Dungeon Stone wall with drain

Real estate agents have a mantra: Ventilation, ventilation, ventilation. Or maybe that’s just the ones who specialize in lairs.

Floor drains in the round are the latest trend in modern dungeon sanitation. Don't die from grave rot because you couldn't hose down your murder room.

Grab the files
Patreon
Thingiverse
MyMiniFactory

Files are available now via Dropbox to our Patreon supporters. Files are posted to Thingiverse and MyMiniFactory later, as time permits. Check back if you don’t see them right away.