MAKER MONDAY: Demotivational magnets

Altered art magnet

Choose to shine. Or don’t. No pressure.

The last Maker Monday featured fridge magnets made from old Dragon magazine art. For this project, I paired larger pieces with sentimental and motivational phrases from my scrapbooking stash.

Your basic supplies will be old print materials (magazines, newspapers, junk mail, etc.), adhesive-backed magnetic sheets and stickers with phrases you like. I used Tim Holtz’s Small Talk. You could also print your own.

The magnet in the picture above is about the size of a playing card. Don’t go much smaller than that if you want it to work for a living, since the magnetic backing is thin.

I adhered the art to regular cardstock (any color) using double-sided tape. This step makes the magnets feel sturdier and lets me craft them up before committing to the magnetic backing. I’m more willing to experiment when I’m not risking the single most expensive element of a project, but it’s fine to skip this step if you’re more confident than I am.

I covered my magnets with a thin layer of matte gel, then aged them with Distress Oxide inks (Antique Linen and Vintage Photo). On some, I added a layer of crackle paint for more texture. There’s a small learning curve with crackle paint, so test drive it on scrap paper if you haven’t used it before. For magnets that called for a crisper image, I used nothing but a clear gloss spray varnish to prevent brush strokes.

I coated a few with resin, but it’s not worth the trouble. The resin warped the thin backing, and even with a lot of effort, I couldn’t get them perfectly straight again. I might be able to solve this problem in time, but I probably won’t bother. You could laminate them if you plan to take them to the beach for some reason, but a finishing coat of varnish or decoupage medium will work just fine for ordinary use.

These are fun to make — so much fun that I’ve run out of room on the fridge and I’m now cannibalizing the dishwasher.

** As an Amazon Affiliate, we make a small amount of money off of qualifying purchases, at no extra cost to you.

New torch release simplifies dungeon lighting

Devon designed his first torch seven years ago, and it was well past time for an update. The new release is much more useful and easier to assemble.

Check out our Patreon page for files, detailed assembly instructions and links to necessary supplies. The files will be uploaded to MyMiniFactory soon. We’ll post an update when they’re available.

Don’t let your PCs live — and die — in darkness.


MAKER MONDAY: Dragon magazine makeovers part 1: Magnets

Fridge magnets

These fridge magnets are made primarily from wood scraps, old Dragon magazines, and environmental angst.

A few years ago, Devon gifted me his dead-tree collection of Dragon magazines. I had no idea what to do with so much awesome, so I did the only reasonable thing: I shoved them into a dark corner and moved on.

Fast forward to a few months ago, when I was feeling bad about the trash we generate with our hobbies. We try to be environmentally conscious, but there’s no denying that a lot of stuff ends up in a landfill. In this case, I was throwing shade at the drawers full of tiny wood circles, squares and rectangles Devon amassed while he was cutting his painting racks on our Glowforge. Even he felt bad, which is why they ended up in drawers instead of the trash.

That was the moment I realized I needed — NEEDED! — magnets made from Dragon art.

For basic magnets, all you need is a sturdy base — in this case, wood — art, adhesive and a magnet. I used strong ceramic magnets applied with E6000 adhesive because magnets that make STR a dump stat are the worst.

I aged some of them with Distress Oxide Inks and Deco Art One Step Crackle, which gives the magnets a nice rough texture that’s hard to see in the above picture. With others, I applied hard UV resin to create a glass-like finish.

I went a little extra with Golden Soft Gel Matte to soften the paper’s glossiness, and I used spray varnish to seal the pieces without leaving brush strokes. If you use spray, do so in a well-ventilated area, preferably with a good respirator.

Resin will yellow the paper over time, so varnish the pieces unless you want that look. I varnished all of the magnets, even the ones I distressed, to give myself control over the aging process.

I used the same basic process to make a mountain of magnets, earrings, pins, pendants and buttons, which will be the subject of future Maker Mondays.

——————

**** As Amazon Associates, we earn from qualifying purchases. If you click on of the product links above and buy something within 24 hours (either the product we linked to or something else), we earn a small commission at no extra cost to you. We have no additional business relationship with Amazon, or with the companies who make the products we have recommended. These are products we have purchased ourselves and have enjoyed using.

Yawning Portal: Goblin fireplace and foundations

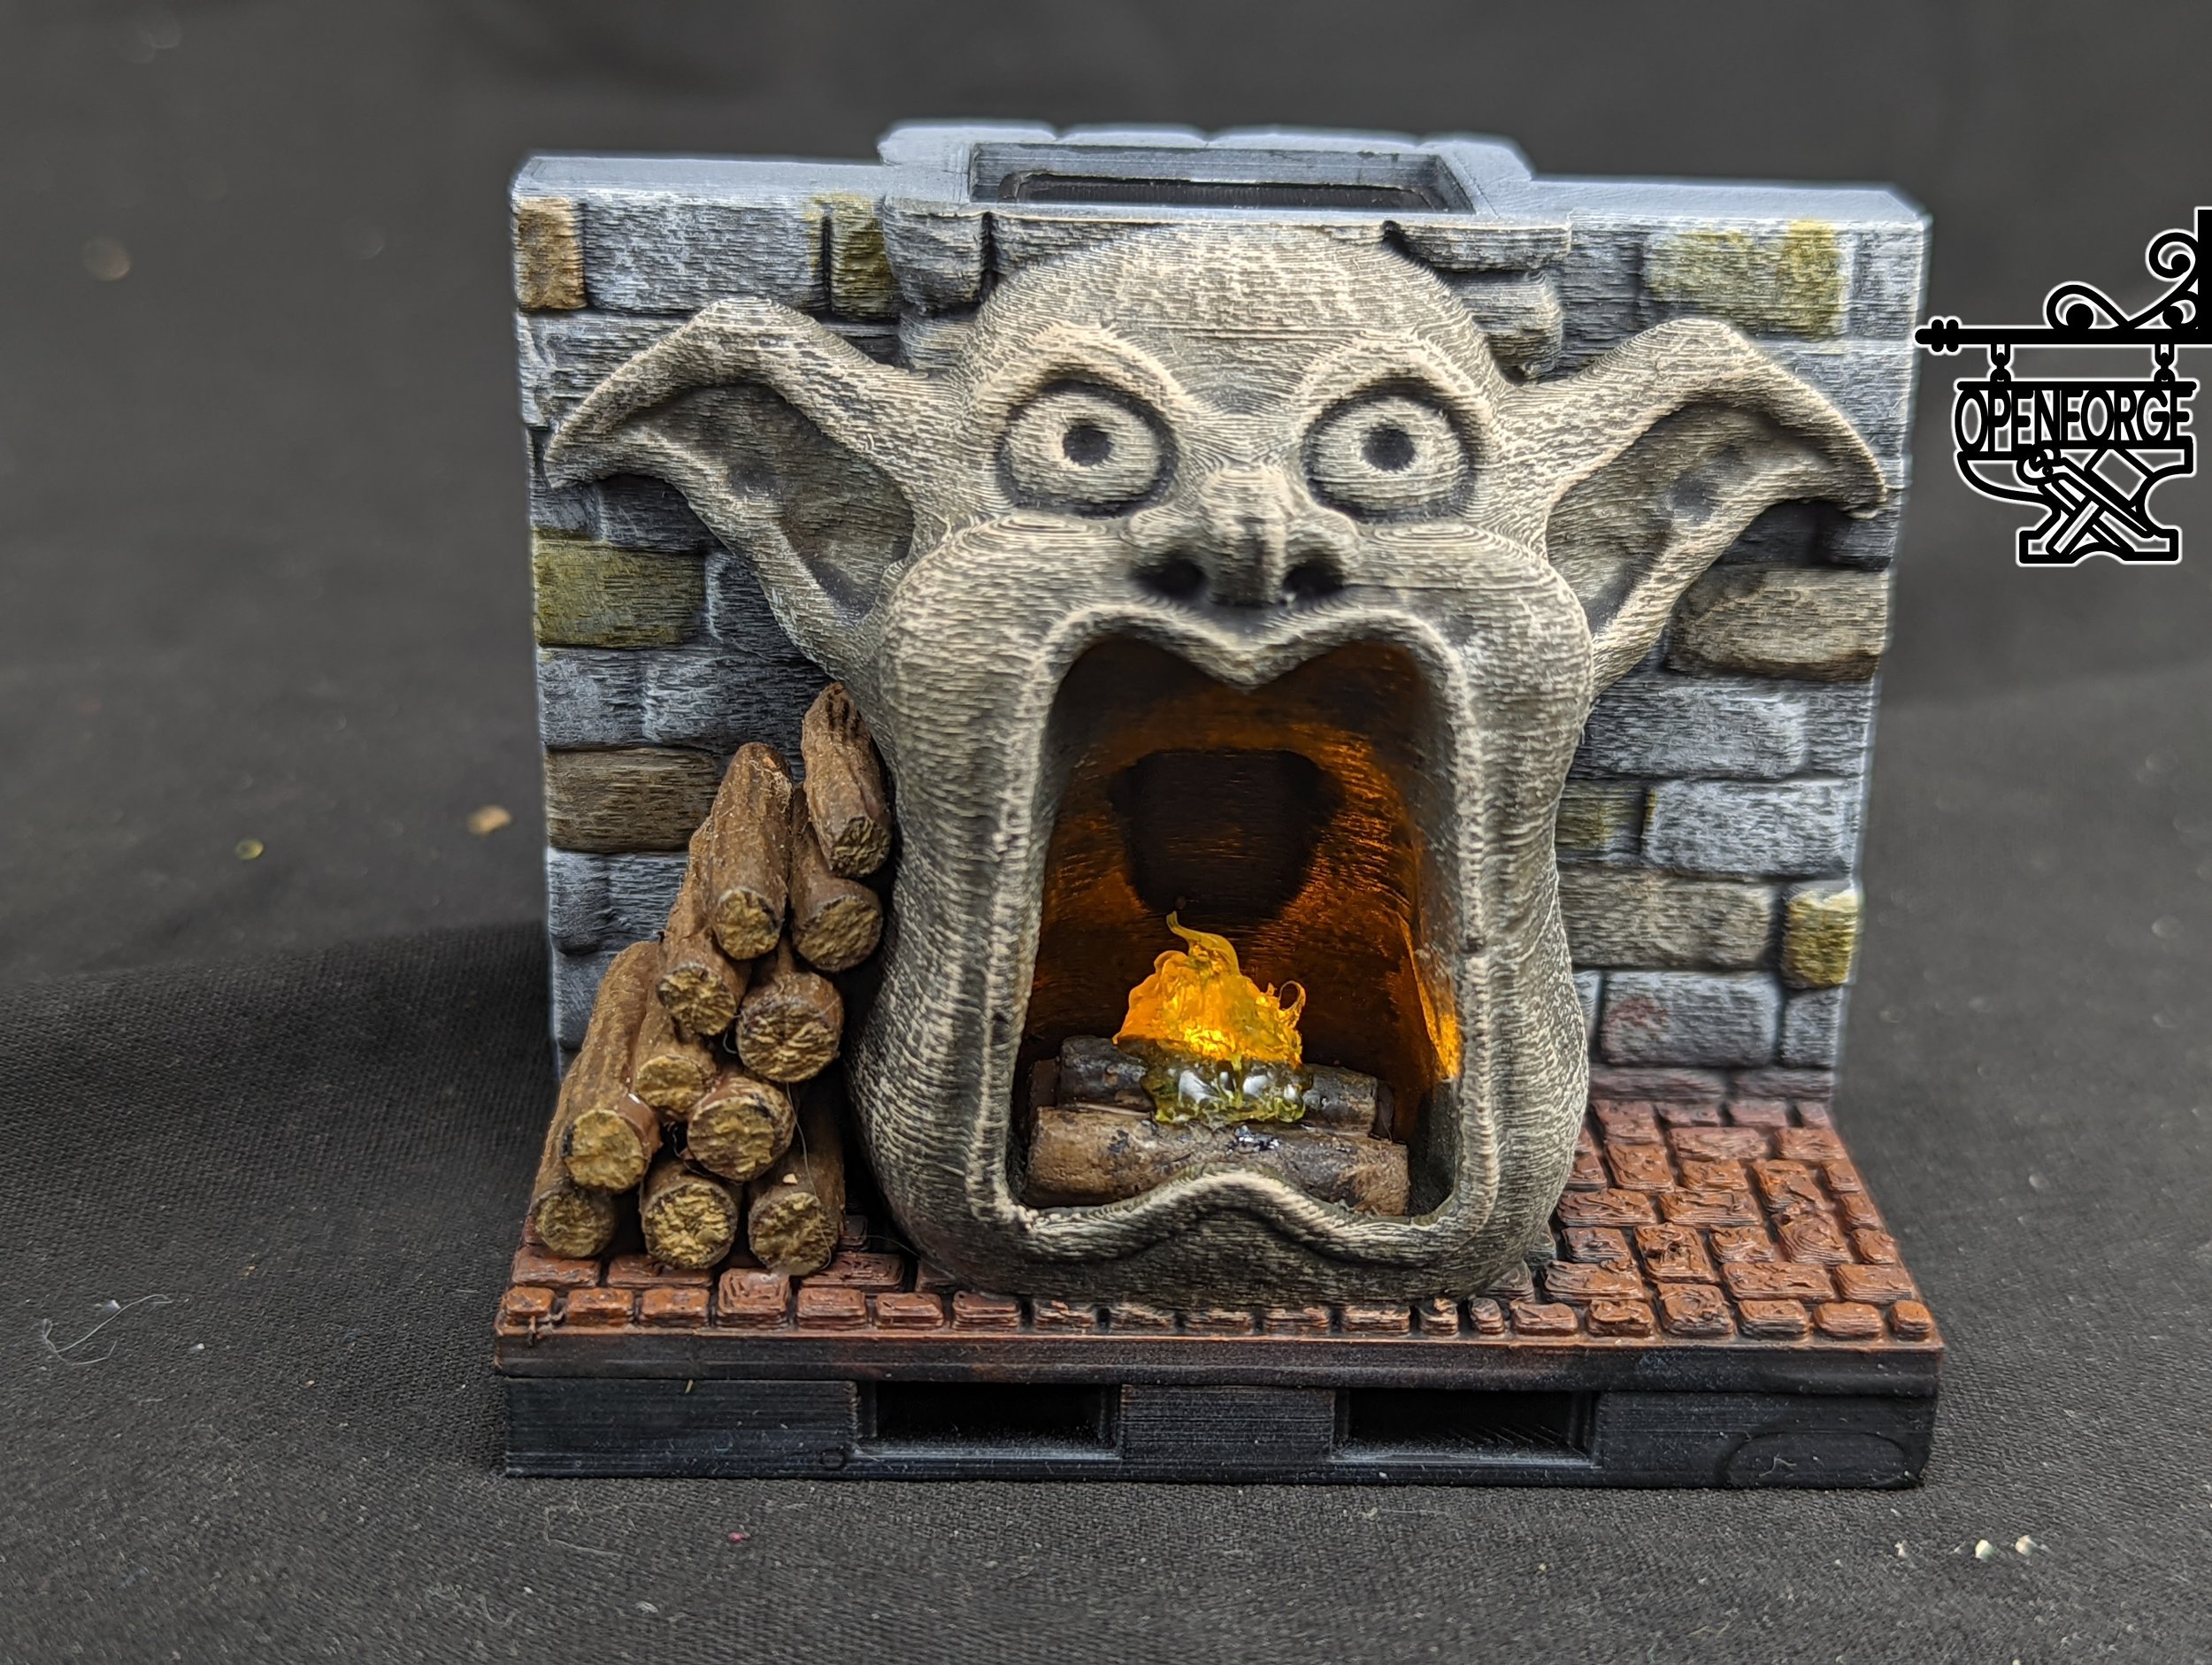
Yawning Portal: Goblin Fireplace

Print yourself something nice for Valentine’s Day — like this goblin fireplace.

Say hello to the second most famous part of the Yawning Portal: the goblin fireplace.  Devon added fireplace logs that he suggests printing in resin. You can light the fireplace with a 3mm flickering LED.

Check out our Patreon page for files, advice on the build, and links to supplies. You’ll also find files for the portal itself and foundation supports.

Source: https://www.patreon.com/masterworktools