Cut stone gets the drain treatment. These files give you both walls and corners. Check out our Patreon page for download instructions.
Feeling drained, up against a wall and cornered? That makes sense. This is a drain on a wall with corners.
Cut stone gets the drain treatment. These files give you both walls and corners. Check out our Patreon page for download instructions.
Feeling drained, up against a wall and cornered? That makes sense. This is a drain on a wall with corners.
This month’s release is a stone wall tile with lattice windows and shutters that can be used together or separately. Check them out on our Patreon.


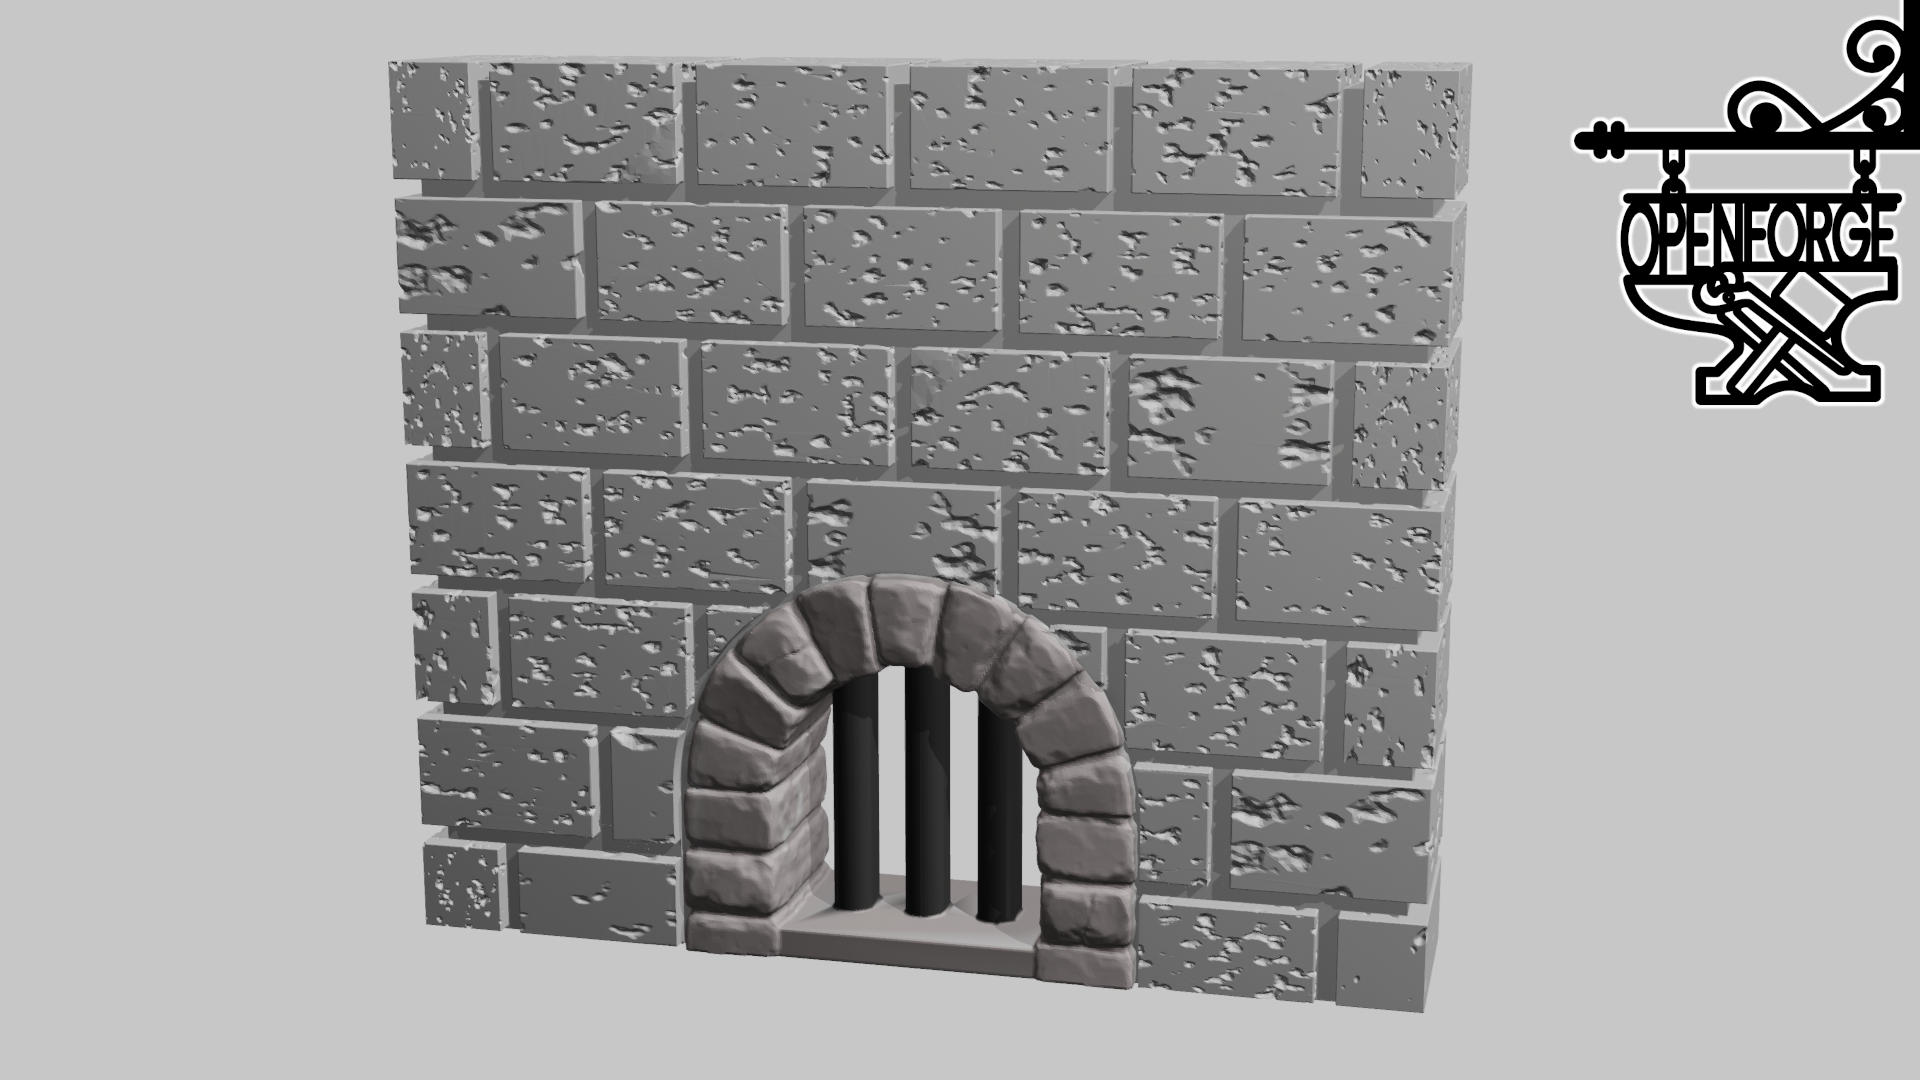
This tile with a drain, along with other tiles, finishes out this section in our stone-walls series.
With May’s release, this section of the Dungeon Stone Wall set is complete.
Next month, Patrons will see some changes in the voting process. Our Discord poll revealed that y’all would prefer a streamlined process that focuses on completing existing sets. That sounds pretty good to us, too.

Our much-loved 22-year-old cat died this week. Our kids wanted something to remember her by, so I made necklaces for me and the kids. Devon’s not a jewelry person except for his wedding band, so he got a magnet.
I’ve made dozens of necklaces like this using — you guessed it — art from Dragon magazine, and the process here was the same. You could skip the resin and coat it with a matte or gloss sealer if you prefer. Check out our blog entry on making magnets for more complete directions. Instead of magnet backings, you’ll need bails and cords.

An image of a dagger printed on a magazine-page background.
Someday I’ll run out of things to do with our old Dragon magazines, but today is not that day.
I needed something to do with the pages of plain text, so I made my own version of the vintage dictionary art I’ve seen on Pinterest. This project is simple unless, like me, you make things more complicated than they need to be.
First decide what size you want your finished art to be. I suggest using a standard frame size so you don’t have to buy a custom frame, but I ain’t the boss of you. Mine are all 5 x 7.
Choose or create an image you like. I wanted a dagger, but I can’t draw, so I took a picture of my dagger and played with it in Silhouette Studio. The original photo had too much light on the hilt, which is why it appears to be dissolving, but I consider it a happy accident. I played around with different looks — thicker, more uneven lines around the dagger, more 3-dimensionality on the blade, etc. There’s no way to do this wrong. In some versions, I stenciled a background design before sending it to the printer.
In hindsight, it might have been faster to learn how to draw a dagger, but I prefer to overthink things.
Gently rip or cut the page from your magazine. I taped my pages to 8.5 x 11 pieces of copy paper so I didn’t have to fiddle with custom sizes and taped them to the bottom left every time for consistent print results.
Now put that paper aside and do a few test runs on scrap before you use your favorite page from a magazine that can’t be replaced. If you adore the page you’re using, you might want to photocopy or scan it, just in case.
Print the image on plain paper. Place the print over your prepared page. Make sure you like the positioning. Then print it again with a scrap page from the same publication so you can see precisely how things line up and how your color prints. Even dark colors should print lightly enough to see the text underneath. Make any necessary adjustments, then print on your final page.
Now cut your piece a bit bigger than the window of your frame or mat. I taped it to cardstock before framing it to mask the other side. Your final size doesn’t need to be precise: It just needs to fit inside the frame, lined up properly in the window.
You can go in a lot of different directions with this: stamping, stencils, freehand drawing, painting, etc. I dove deeper into my craft supplies once I nailed down the process.